Wood Floors · 7 min read
Restoring Hardwood Floors Without Sanding
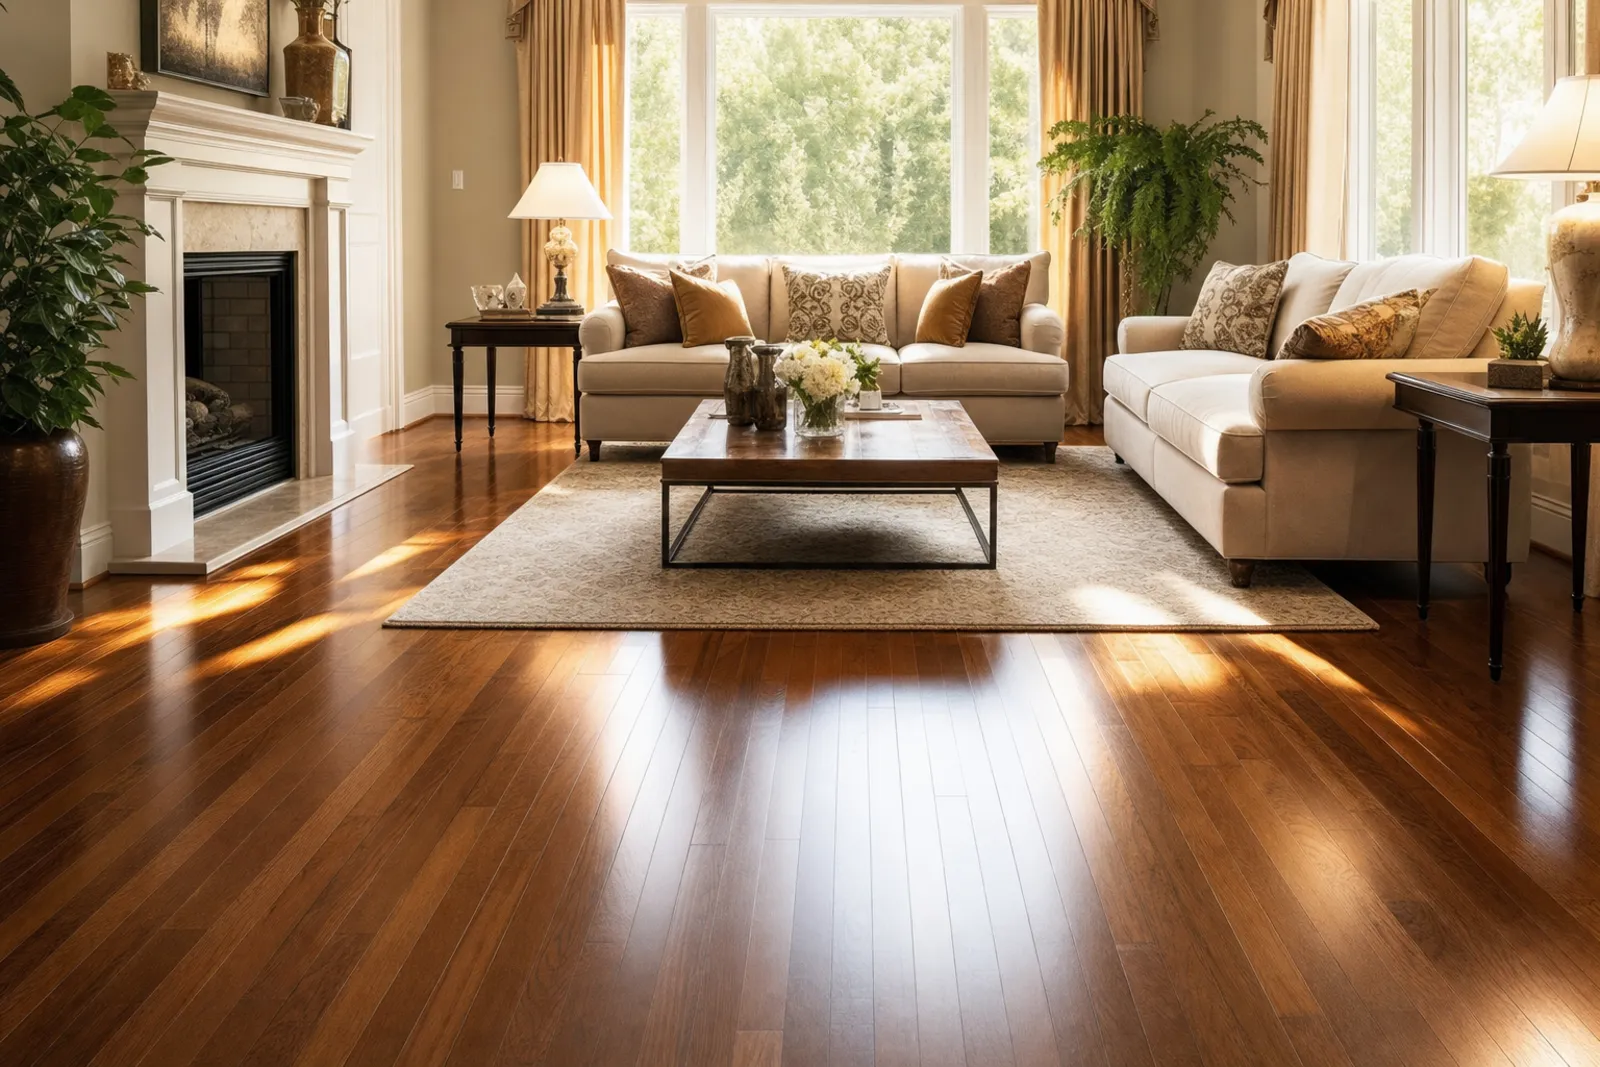
Sanding a hardwood floor is loud, dusty, expensive, and it shaves away wood you can never put back. The good news: most tired-looking floors in older Mercer County and Bucks County homes don’t actually need it.
What “Restoring Without Sanding” Actually Means
Sanding strips a floor down to bare wood, removes the existing finish entirely, and starts over. That makes sense when the finish has failed and the wood underneath is scratched into the grain or has gone gray from water and wear. But a lot of the dull, scuffed, lifeless floors we see have a finish that is still intact, it’s just buried under years of grime, old polish buildup, and surface scratches that never reached the wood itself.
Restoring without sanding means cleaning the finish properly, repairing the damage that lives in the finish (not the wood), and either rejuvenating or replacing the top coat. Done right, the floor looks dramatically better without removing a single layer of wood. Floors that have been sanded three or four times over their life have nothing left to give, so a no-sand approach also protects the asset for the next owner.
The First Step Is Honest Diagnosis, Not Cleaning
Before anyone touches a floor, you have to know what you’re standing on. There are three things worth identifying: the wood type (solid or engineered), the finish type, and how deep the damage goes. As an solid hardwood and engineered wood call for different cleaning because engineered floors have a thin real-wood veneer over plywood, that veneer can be as little as a few sixteenths of an inch thick, which is why sanding is often off the table for engineered floors entirely.
The finish matters just as much. Older homes around Pennington and Lawrenceville often have penetrating oil or wax finishes; newer installs are usually surface finishes like polyurethane. A simple test helps: put a few drops of water on the floor in an inconspicuous spot. If it beads, you have an intact surface finish. If it soaks in and darkens the wood, the finish is worn through or it’s an oil/wax floor that needs different handling.
To gauge damage depth, look at a scratch in raking light. If you can feel it with a fingernail but it hasn’t gone white or gray and you don’t see bare wood, it’s in the finish. That’s the floor that responds beautifully to no-sand restoration.
Why Floors Look Dull in the First Place
People assume a dull floor is worn out. Usually it isn’t. The most common cause is a microscopic film of soap residue, old acrylic “mop and shine” products, and ground-in dust acting like frosted glass over the finish. Light hits that haze and scatters instead of reflecting, so the floor reads as flat and tired even though the finish below is fine. We cover this in more detail in our breakdown of why wood floors look dull, but the short version is that the wrong cleaning products cause more dullness than foot traffic ever does.
Fine scratches do their part too. Grit tracked in from the driveway is essentially sandpaper underfoot. Thousands of tiny scratches don’t show individually, but together they kill the gloss. Both of these problems, haze and micro-scratching, are fixable without sanding.
Deep Cleaning: The Step That Does 80% of the Work
A genuine deep clean is the foundation of any no-sand restoration, and it’s where most homeowners are shocked at the result. This is not a damp mop. It’s a controlled process that lifts the built-up film off the finish without flooding the wood or leaving its own residue behind.
Water is the enemy of wood, which is why our approach is low-moisture cleaning that keeps liquid off the seams and joints. Standing water seeps between boards, swells the wood, and lifts the finish, the exact damage you’re trying to avoid. A professional low-moisture method uses minimal solution, agitates the grime loose, and extracts it before moisture can migrate into the wood. The certified-organic, non-toxic products we use matter here for a practical reason beyond safety: harsh chemicals and oil-based “revivers” leave a residue that attracts dirt and goes hazy again within weeks. Clean product in, clean product out, and floors that stay clean longer. They’re also genuinely hypoallergenic, which is the right call in a house with kids, pets, or anyone sensitive to fumes.
- Dry soil removal first — vacuum and dust-mop every speck of grit before any liquid touches the floor, so you’re not grinding sand into the finish.
- Targeted solution, light application — the cleaner stays on the finish, not in the gaps.
- Agitation and immediate pickup — the haze comes up and leaves with the dirty solution rather than drying back onto the floor.
Screen and Recoat: A New Top Coat, No Sanding to Bare Wood
When a deep clean alone isn’t enough, the next step up is a screen and recoat, sometimes called a buff and coat. This is the heart of no-sand restoration for surface-finished floors. A fine abrasive screen lightly scuffs the existing finish, just enough to give a new coat something to grip, and then a fresh layer of finish goes over the top. Critically, the screen never cuts down to bare wood; it only roughs up the top coat. You can read a full walkthrough in our guide to how the screen-and-recoat process works.
The payoff is a brand-new wear layer, even sheen, and the disappearance of most surface scratches, for a fraction of the cost and mess of a full sanding. There’s a limit, though: a screen and recoat only works while there’s still finish on the floor to bond to. If the wood is worn bare in the traffic lanes, the new coat won’t adhere there and you’ll see witness lines. An honest inspection tells you which side of that line your floor falls on.
Spot Repairs That Don’t Require Touching the Whole Floor
Individual problems can usually be handled in place. Deeper scratches that caught the wood can be filled and color-blended. White water rings from a planter or a glass often sit in the finish, not the wood, and can be drawn out. Gray or black spots, on the other hand, mean water reached the wood fiber and oxidized, those usually need a board-level fix and can’t be cleaned away. Knowing the difference saves you from chasing a stain that was never going to lift.
Keeping the Floor Looking Restored
The fastest way to undo a restoration is to go back to the products that caused the haze in the first place. After we restore a floor, the maintenance plan is simple and it’s the same advice whether you’re in Princeton or Newtown:
- Dust-mop or vacuum (hard-floor setting) often, grit is the number one cause of new scratches.
- Wipe spills immediately; never let water sit on the seams.
- Skip the supermarket “shine” sprays and oil soaps, they build the film back up.
- Use felt pads under furniture and a walk-off mat at every exterior door.
- Have the finish professionally cleaned periodically so buildup never gets a foothold.
With that routine, a screen and recoat can hold for years before the next light maintenance coat, no sanding ever required.
When Sanding Really Is the Right Call
We’d rather lose the job than oversell it, so here’s the honest boundary. Sanding is the correct choice when the wood itself is damaged: deep gouges into the grain, widespread gray water staining, cupped or buckled boards, or floors so heavily worn that there’s no finish left to bond a new coat to. It’s also necessary if you want to change the stain color of the wood. In every other case, a no-sand restoration gets you 90% of the look with a tenth of the disruption. If you’re not sure which camp your floor is in, that’s exactly what a proper inspection settles, and it’s the question we answer every day on wood floors in Princeton and the surrounding towns.
If your floors look tired but you’re not ready to sand, let us take a look first. We’ll tell you honestly whether a deep clean, a professional wood floor cleaning and polishing service, or a screen and recoat will do the job. Call 609-586-5833 for a free, no-pressure quote, your floor may have a lot more life left than you think.
Frequently asked questions
No. No-sand methods work when the finish is worn but the wood underneath is sound. Floors with deep gouges, gray water staining, cupped boards, or no finish left to bond to need sanding.
It's a process where a fine abrasive screen lightly scuffs the existing finish so a fresh top coat can bond to it. The screen never cuts to bare wood, so it restores sheen and hides surface scratches without a full sanding.
Usually it's a film of soap residue, old acrylic shine products, and ground-in dust on the finish. That haze scatters light instead of reflecting it, so the floor looks flat even when the finish below is fine.
Yes, and often they have to be. The real-wood veneer on engineered floors is very thin, so sanding may not be an option at all. Deep cleaning and a screen and recoat are usually the safe path.
Often, surprisingly close. A proper low-moisture deep clean removes years of haze and buildup and does most of the visible work. If scratches in the finish remain, a screen and recoat finishes the job.
Standing water seeps into seams, swells the wood, and lifts the finish, so low-moisture cleaning protects the floor. Certified-organic, non-toxic products also avoid the residue that harsh chemicals leave behind, so floors stay clean longer and the home stays fume-free.