
Wood Floors · 8 min read
Fixing Scratches, Scuffs and Pet Damage on Wood Floors
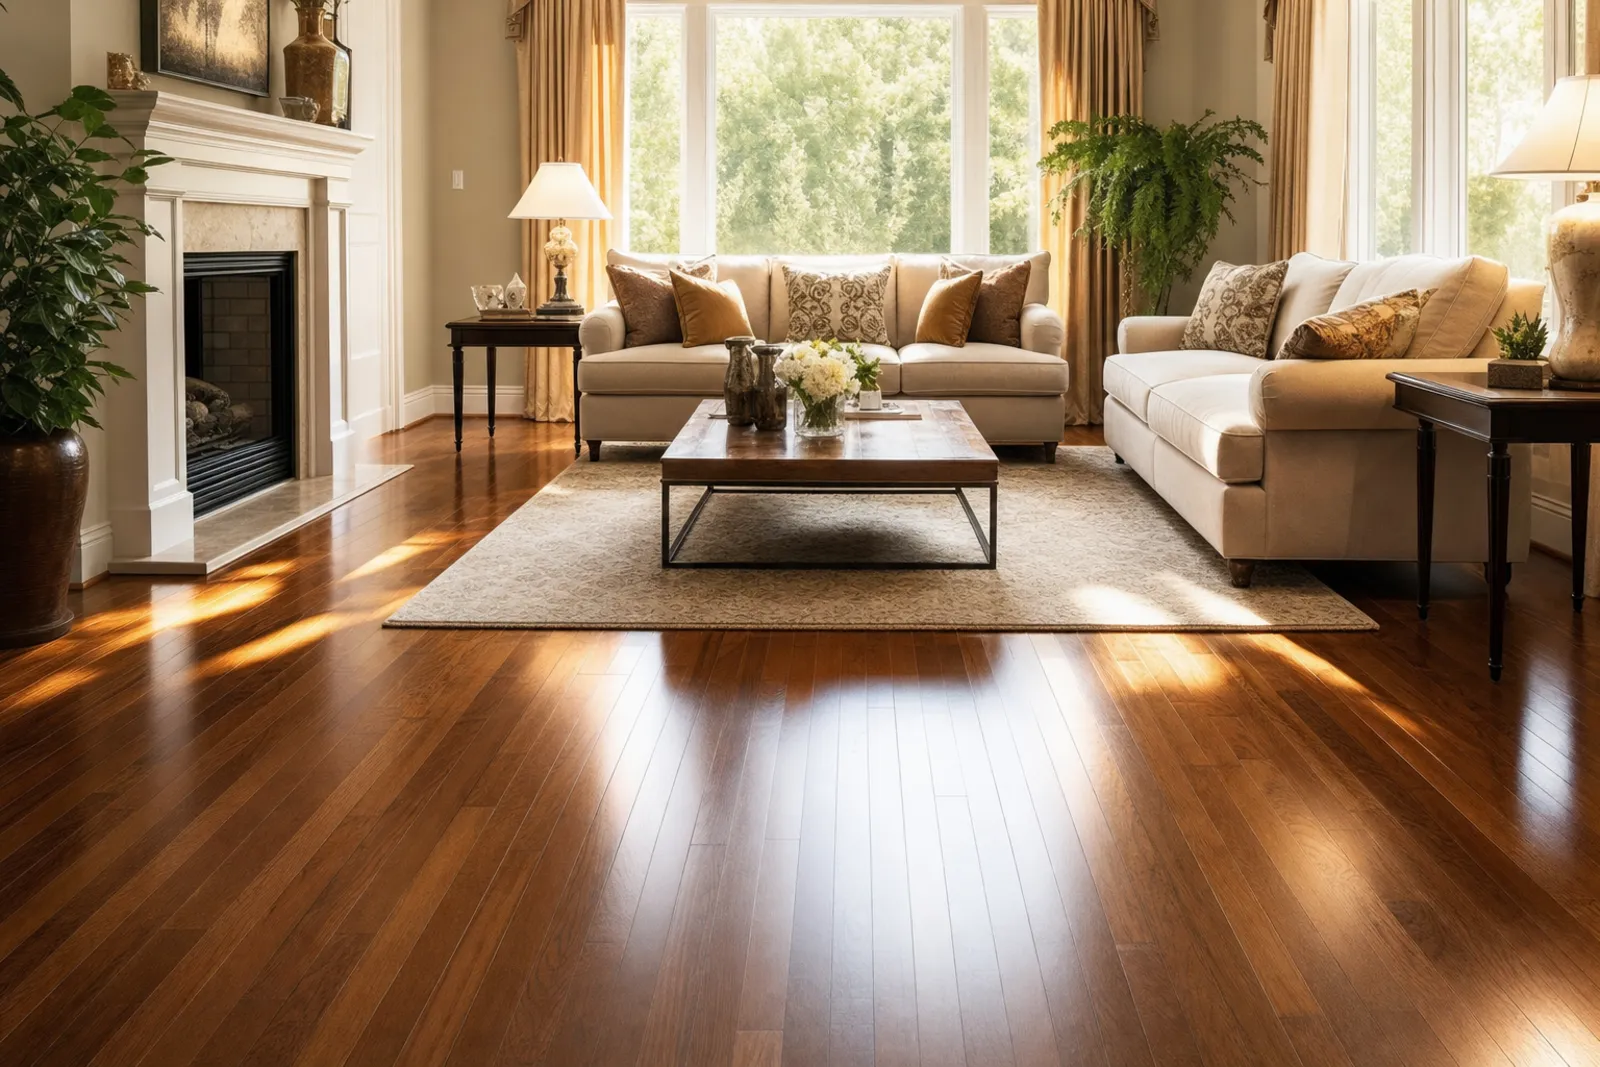
Wood floors take a beating from shoes, furniture, grit, and dog nails, and most of the damage you see is shallower than it looks. Knowing the difference between a surface scuff and a gouge into the wood is the whole game, because it tells you whether you can fix it in ten minutes or whether you need a professional.
First, Figure Out What You’re Actually Looking At
Before you touch anything, get down at floor level with a bright light raking across the boards. There are three kinds of damage, and they call for three different responses.
- Scuffs are marks on top of the finish, not in it. A black heel mark, a rubber streak from a chair leg, a smear of something. The finish underneath is intact. These are the easy ones.
- Scratches have cut into the finish layer (the polyurethane or whatever coating sits on top of the wood). Run a fingernail across one. If it catches, it’s a real scratch. If your nail glides over it, it’s a scuff.
- Gouges and pet damage go through the finish and into the wood itself. Dog nails are the classic cause: dozens of fine scratches clustered by doors and near furniture, plus deeper dents where a big dog pivots and pushes off.
One more test that saves people from real mistakes: figure out whether you have solid hardwood or engineered wood. Engineered boards have a thin real-wood veneer over plywood, and that veneer can be as little as 0.6mm thick. You cannot sand it more than once or twice in its life, and aggressive scratch repair can blow right through it. If you’re not sure which you have, our breakdown of solid versus engineered wood care walks through how to tell them apart.
Fixing Scuffs and Surface Marks
Most “scratches” people panic over are scuffs, and they wipe away with almost nothing. Start with the gentlest thing that works.
- A clean microfiber cloth, slightly damp with plain water. A surprising number of marks are just transferred rubber or dirt sitting on the finish.
- If water doesn’t lift it, a plain pencil eraser (the white art-gum kind, not the pink one) handles black heel marks and rubber streaks beautifully. Rub gently and wipe the crumbs away.
- For greasy or sticky marks, a drop of pH-neutral wood floor cleaner on the cloth. Never use vinegar, ammonia, or all-purpose sprays. Vinegar is acidic and dulls and etches the finish over time, which is one of the most common reasons floors stop shining. We get into that in why wood floors go dull.
The rule that keeps you out of trouble: nothing abrasive, nothing acidic, and nothing soaking wet. Standing water is the enemy of any wood floor, solid or engineered.
Filling and Hiding Fine Scratches
Once a scratch has cut into the finish, you have two realistic DIY options depending on how it looks under light.
Color blending. For thin scratches that show up as a lighter line, a matching stain marker or a touch-up pen blends the color so the scratch disappears to the eye even though it’s still physically there. Test the color on a hidden spot first. Markers always look darker than the cap suggests, and on a light floor a too-dark line is more obvious than the scratch was.
Filling. For scratches you can feel with a fingernail, a wax-based fill stick or blending putty fills the groove and then gets buffed flush. Wax sticks are forgiving and reversible, which makes them the right starting point for a homeowner. Work the wax in across the scratch, then scrape the excess off with a plastic card so you’re left with wax only in the groove.
A cluster of fine scratches over a wider area, the kind dog nails leave by a back door, is usually not a fill job. That’s a finish problem, and trying to fill thirty tiny lines individually will look worse than the damage. That whole zone needs to be recoated, which we’ll get to below.
Repairing Deep Gouges and Dents
Deep damage gets into the wood. Two things to separate here, because they’re fixed differently.
Dents are compressed wood with no fibers torn, the kind a dropped pan or a stiletto heel leaves. On solid hardwood with an oil or penetrating finish, a dent can sometimes be steamed out: a damp cloth and a clothes iron on the spot lets the crushed fibers swell back. This works on raw or oil-finished wood. It does not work through polyurethane and it will ruin engineered veneer, so this is a narrow trick, not a general fix.
Gouges have torn or removed wood. These need a two-part wood filler tinted to your floor color, pressed in, leveled, and then sealed with a dab of finish on top so the patch doesn’t absorb dirt differently than the wood around it. Color-matching a gouge so it disappears is genuinely hard, and it’s where a lot of DIY repairs end up looking like a repair. If a gouge is in the middle of a room where every visitor’s eye lands, it’s worth a professional.
The Pet Damage Reality
Pet damage is its own category because it’s rarely one mark. It’s three things at once: fine nail scratching that hazes the finish, deeper scratches and gouges in traffic paths, and sometimes urine staining that has soaked through the finish into the wood and even the subfloor.
Scratching is a finish issue and a recoat fixes it. Urine is the harder problem. Once it penetrates past the finish, no cleaner reaches it, and the dark gray or black stain you see is a reaction in the wood itself. Light surface staining sometimes responds to careful treatment; deep black staining usually means that board has to be sanded or replaced. Acting fast matters far more than any product. The longer pet urine sits, the deeper it goes and the more likely it reaches the subfloor, where it becomes an odor problem you can’t clean from the top.
If you’re managing a household with pets, the day-to-day routine matters as much as repairs. Keeping nails trimmed, wiping accidents immediately, and using the right pH-neutral cleaner all slow the damage. Our guide to cleaning wood floors covers the maintenance side in detail.
When a Recoat Beats a Repair (and Beats Sanding)
Here’s the thing most homeowners don’t know: if the damage is in the finish and not in the wood, you almost never need a full sand-and-refinish. A screen and recoat (sometimes called a buff and coat) lightly abrades the existing finish to give it tooth, then lays down a fresh coat over the whole floor. It erases the haze of fine scratches, evens out worn traffic paths, and restores the sheen, all without the dust, the days of displacement, and the loss of veneer thickness that sanding costs you.
A recoat works when the damage hasn’t gone through to bare wood. If you have white scratch lines but no exposed wood, you’re a candidate. If the wood is showing, raw spots will flash through a new coat and look blotchy, and you’re into spot repair or sanding territory. This is the single best-value move for a tired floor, and we explain the full approach in our piece on how to restore hardwood without sanding. For engineered floors with their thin veneer, a recoat is often the only safe way to refresh the surface, since there isn’t enough wood to sand.
How We Approach Wood Floor Work
At AllState Cleaning we’ve been working on floors and textiles across Mercer County and Bucks County since 1989, and our cleaning method is certified-organic, non-toxic, and hypoallergenic. That matters more on wood than people expect. The cleaners and prep solutions we use won’t leave a film that interferes with a recoat, won’t off-gas into a home with kids or pets crawling on the floor, and won’t strip or etch the finish the way harsh chemicals do.
When we assess a floor, we tell you honestly which bucket the damage falls into: a clean-and-restore, a screen-and-recoat, a spot repair, or, when it’s genuinely needed, a referral for full refinishing. We don’t upsell sanding when a recoat will do, because over-sanding is how floors get used up before their time. You can see the full scope of our wood floor cleaning and polishing service, and if you’re local, our Princeton wood floor cleaning page covers what we do in town.
Keeping Damage From Coming Back
Repair is only half of it. The same prevention basics protect your fix and your floor for years.
- Felt pads under every furniture leg, checked twice a year. They wear down and grit gets embedded in them, which turns a protector into a scratcher.
- A walk-off mat at every entrance. Grit tracked in on shoes is the abrasive that dulls finish and scratches floors more than anything else.
- Keep pet nails trimmed and put a runner down on the path your dog takes to the door.
- Clean with a pH-neutral wood cleaner and a microfiber pad, never a soaking mop. Damp, wrung-out, and dried quickly.
- Recoat traffic areas before the finish wears through to wood. Catching it at the haze stage is cheap; waiting until the wood is exposed is expensive.
Not sure whether your floor needs a quick repair, a recoat, or just a proper cleaning? We’ll take a look and tell you straight, no pressure. Call AllState Cleaning at 609-586-5833 for a free quote, and we’ll help you get your wood floors back to looking the way they should.
Frequently asked questions
Run a fingernail across the mark. If your nail glides over it, it's a scuff on top of the finish and cleaning will remove it; if your nail catches, it's a scratch that has cut into the finish and needs filling or color blending.
Light scratches and scuffs, yes. A white eraser handles scuffs, and a matching stain marker or wax fill stick handles fine scratches. Deep gouges, color-matched patches, and floor-wide pet scratching are better left to a professional recoat or repair.
Yes, as long as the scratches are in the finish and haven't worn through to bare wood. A screen-and-recoat abrades the old finish and lays a fresh coat over the whole floor, erasing the haze of fine nail scratches without sanding.
Avoid vinegar, ammonia, all-purpose sprays, and any abrasive pad. Acidic and harsh cleaners dull and etch the finish over time. Use a pH-neutral wood floor cleaner with a damp, well-wrung microfiber pad.
Light surface staining sometimes responds to careful treatment, but once urine soaks past the finish into the wood it turns gray or black and usually requires sanding or replacing that board. The longer it sits, the deeper it goes, so act fast.
Usually not. If the wood isn't exposed, a screen-and-recoat refreshes the finish without sanding, saving you dust, days of downtime, and precious veneer thickness. Sanding is only needed when the wood itself is damaged or worn through.